Red Light Therapy Dosing Guide: How to Calculate J/cm²
Dose in joules per cm2 determines whether red light therapy works. How to calculate it, what ranges the evidence supports, and why most people underdose.
Dose Is the Variable That Determines Outcomes
Two people can use identical panels, follow identical session durations, and get completely different biological outcomes. The reason is usually dose: the actual energy delivered to target tissue per unit area.
The good news: dose is calculable. Once you know your panel's irradiance at your treatment distance, the math takes 30 seconds and tells you exactly whether you're in the therapeutic range.
The Dose Formula
Dose (J/cm²) = Irradiance (mW/cm²) × Time (seconds) ÷ 1000
Three inputs. One output.
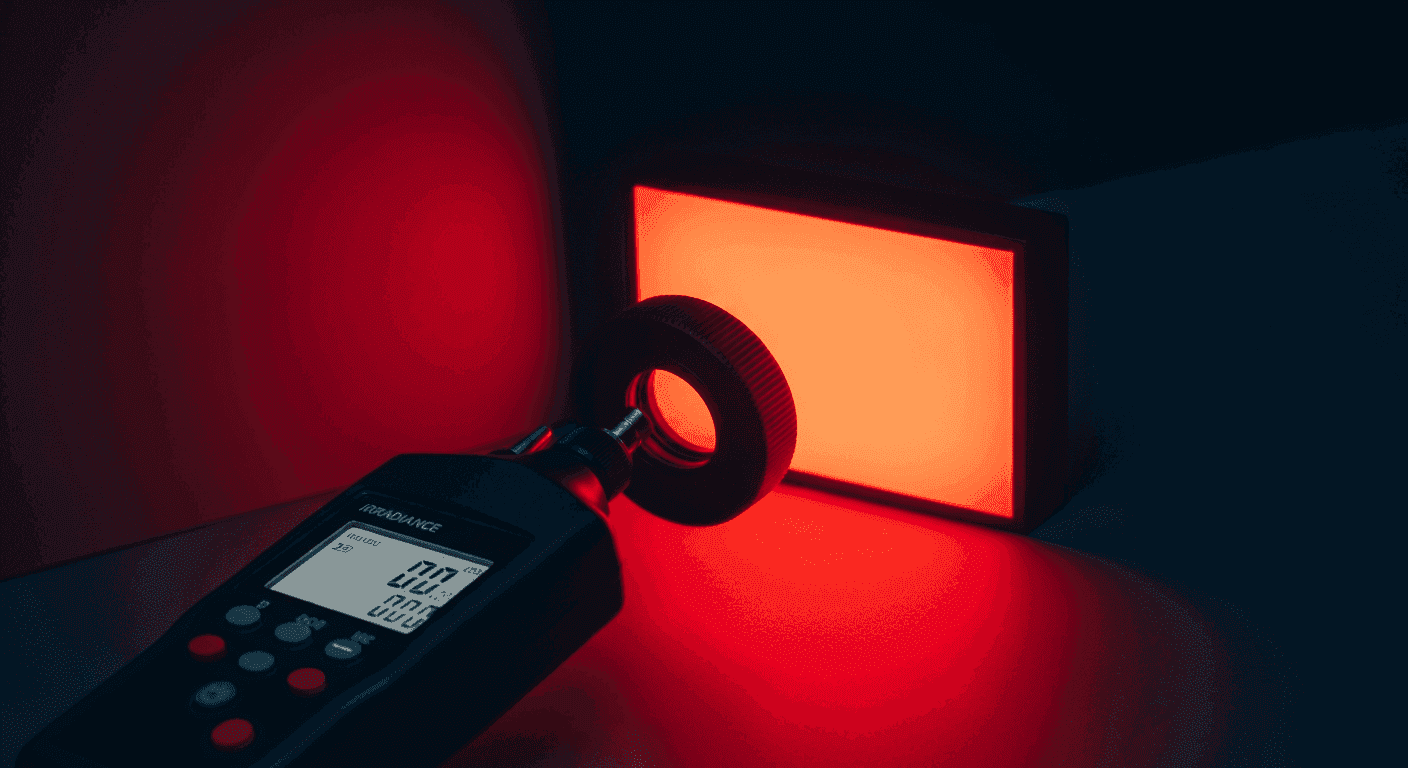
Irradiance (mW/cm²) is your panel's power output per unit area at your skin surface. This is the number you need to find from third-party measurements, not the claimed wattage on the spec sheet.
Time (seconds) is your session duration converted to seconds. 10 minutes = 600 seconds.
The ÷ 1000 factor converts milliwatts to watts (since 1 J/s = 1 W).
Example: Panel delivers 60 mW/cm² at 6 inches. You treat for 10 minutes.
60 mW/cm² × 600 seconds ÷ 1000 = 36 J/cm²
Therapeutic Dose Ranges by Application
These ranges are drawn from the LLLT clinical literature and the World Association for Laser Therapy (WALT) dosing guidelines, which synthesize positive trial data into evidence-based recommendations.
| Application | Target Dose Range | Notes |
|---|---|---|
| Skin collagen/anti-aging | 10–30 J/cm² | Per session, skin surface |
| Wound healing | 4–16 J/cm² | Per treatment site |
| Hair growth | 3–8 J/cm² | Scalp, per session |
| Neck pain | 4–12 J/cm² | Per treatment point |
| Knee osteoarthritis | 4–12 J/cm² | Per point, 4–6 points around knee |
| Muscle recovery (post-exercise) | 20–60 J/cm² | Per muscle group |
| Tendinopathy | 4–8 J/cm² | Directly over tendon |
| Neuropathic pain | 10–40 J/cm² | Higher doses for deeper nerve targets |
Lower doses are generally used for surface-level targets. Higher doses are used for deeper tissue (muscle, joint capsule) where significant attenuation occurs as light passes through overlying tissue.
The Dose-Response Curve
Photobiomodulation follows the Arndt-Schulz biphasic curve: very low doses produce no detectable effect, moderate doses produce benefit, and very high doses can inhibit cell function. This is well-established in in vitro studies and animal research, with supporting evidence in human trials.
The practical implication for consumers: there is a floor and a ceiling to useful dose. Below the floor, nothing happens. Above the ceiling, you may actually reduce the treatment effect. The therapeutic window for most applications is relatively wide, but it does have limits.
At consumer irradiances (50–150 mW/cm²), reaching the inhibitory range requires treatment durations of 40+ minutes per site at close range. This isn't typical consumer behavior, but the ceiling is real for anyone who believes "more is always better."
Why Most Consumer Users Underdose
The most common dosing error is underdosing, not overdosing. Three factors combine to produce this:
1. Inflated irradiance claims. A panel marketed as "300W" draws 300W from the wall, but LED efficiency is roughly 30–40%. True optical output is around 90–120W, spread across the panel area. A large panel (60cm × 30cm = 1,800 cm²) emitting 100W optical output delivers approximately 55 mW/cm² directly at the panel surface. At 6 inches (15cm), distance losses bring this down to 40–50 mW/cm² depending on beam geometry. Manufacturers who state "300W" irradiance are describing input power, not photons reaching your skin.
2. Treatment at excessive distance. Irradiance follows the inverse square law: doubling the distance quarters the irradiance. The difference between 4 inches and 16 inches of treatment distance is enormous. Users who "relax near" their panel rather than maintaining 6-inch proximity lose most of their dose.
3. Insufficient session duration. 5-minute sessions are common. For a panel delivering 50 mW/cm², 5 minutes delivers 15 J/cm², potentially therapeutic for surface skin or superficial wound healing, but below the range for pain management or muscle recovery.
Calculating Dose for Your Panel
Step 1: Find your panel's actual irradiance. Search for "[your panel model] irradiance test" or "[brand] Solarmeter review." Reputable third-party reviewers (Alex Fergus, Brian Richards at BioOptimizers, others) test panels with calibrated meters. If no third-party data exists, treat manufacturer irradiance claims with skepticism.
Alternatively, purchase a Solarmeter 6.5 or Dr. Meter SM206 for under $150. Measure at your standard treatment distance and you have a verified number.
Step 2: Determine your target dose. Use the table above for your primary application. For multi-purpose use, aim for 20–30 J/cm² per session, which sits in the therapeutic range for most applications.
Step 3: Calculate required session time. Time (seconds) = Target Dose × 1000 ÷ Irradiance
Example: Target 25 J/cm², panel delivers 60 mW/cm² 25,000 mJ ÷ 60 mW = 417 seconds ≈ 7 minutes
At 70 mW/cm²: 25,000 ÷ 70 = 357 seconds ≈ 6 minutes At 40 mW/cm²: 25,000 ÷ 40 = 625 seconds ≈ 10.5 minutes
Step 4: Confirm treatment distance. Irradiance falls sharply with distance. If your measurement was taken at 6 inches, treat at 6 inches. Every additional inch reduces your dose significantly.
Dose and Tissue Depth
Surface dose (J/cm²) isn't identical to delivered dose at depth. As light penetrates tissue, it attenuates. Red light (630–660nm) loses roughly 50% of its energy in the first 1–2mm of tissue. Near-infrared (810–850nm) penetrates deeper but still attenuates significantly through muscle and bone.
For deep targets (joints, thick muscle groups), higher surface doses are needed to deliver effective doses to the target tissue. This is why muscle recovery trials used 20–60 J/cm² and pain trials for joint conditions used higher doses than skin trials. The photons need to make it through overlying tissue to the target.
Pulse vs. Continuous Mode
Some panels offer pulsed light modes with varying frequencies (10 Hz, 40 Hz, 100 Hz). The evidence on pulse frequency optimization is less definitive than for continuous mode dosing. Some research suggests specific pulse frequencies may enhance certain outcomes (40 Hz for neurological applications, for example), but this is an active research area without consensus guidelines.
For general consumer use, continuous mode is the well-evidenced default. If pulse modes are available, use them as an exploration, not as a replacement for ensuring adequate total dose in continuous mode.
Quick Reference: Session Times by Irradiance
Time needed (minutes) to achieve common dose targets at various irradiances:
| Irradiance | 10 J/cm² | 20 J/cm² | 35 J/cm² |
|---|---|---|---|
| 30 mW/cm² | 5.6 min | 11.1 min | 19.4 min |
| 50 mW/cm² | 3.3 min | 6.7 min | 11.7 min |
| 70 mW/cm² | 2.4 min | 4.8 min | 8.3 min |
| 100 mW/cm² | 1.7 min | 3.3 min | 5.8 min |
| 130 mW/cm² | 1.3 min | 2.6 min | 4.5 min |
Panels that deliver 100+ mW/cm² at 6 inches can achieve therapeutic doses quickly. Panels delivering 30 mW/cm² or less require significantly longer sessions for equivalent dosing.
LightTherapyIQ covers the clinical evidence on light therapy devices. No manufacturer pays for editorial coverage.